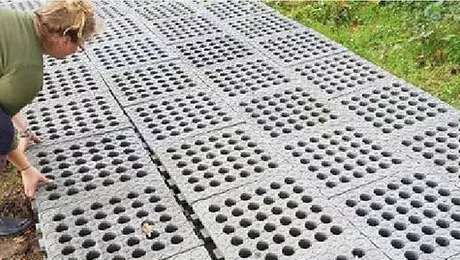
Installation
Installing the slabs is a simple process and we explain the best practices below.
Whether you are looking to install onto hard ground in the summer or sloppy, winter mud, the ingenious tab system will have your hard-standing in place in no time.
PREPARATION
Level the ground by flattening bumps, removing rocks and filling holes.
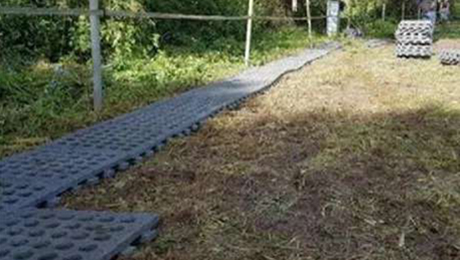
Lay down the first row of Mud Grid slabs across the full length of the area to be covered.
FITTING AND CUTTING
The second row of slabs should be staggered against the first by using a half grid at the beginning. Slabs can be easily cut with a saw.
Mudcontrol slabs are easily cut with a hand, circular, bench, panel or jig saw. When using any power tool, please follow the power tool manufacturer’s recommended best practice.
LAYING
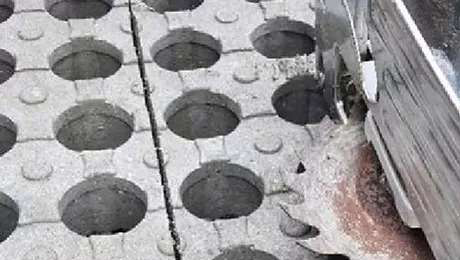
When laying Mud Grid slabs, a crowbar or shovel can give helpful leverage – but do not apply too much force. The slabs should fit loosely together to avoid high tensions during extreme hot or cold weather.
Lay down the second row of slabs after the first row has been done. Remember to leave a 0.5 cm expansion gap. Our slabs make it easy to cover even large areas relatively quickly. Although the grids adapt well to uneven ground, level ground gets the best results.
The two rows will then need to be pushed together so the tabs interlink, but aren’t jammed up together (please allow a small expansion gap).
FITTING TIPS
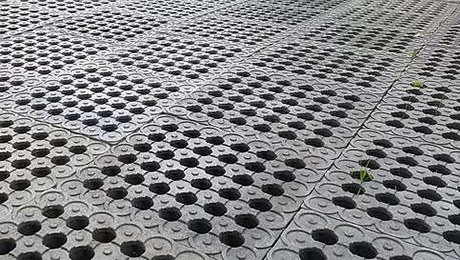
It is best to cover exposed locating tabs to avoid damage from movement over the leading edge, this can be done with soil, sand or a similar medium.
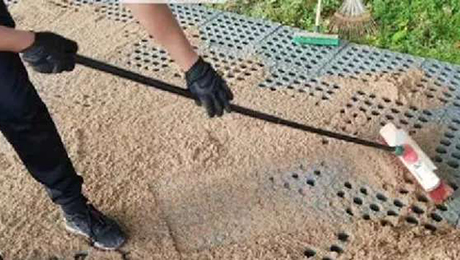
A substrate like sand can be used to level the slabs out. Even after installation, substrate can fill gaps and dips by using a leverage action:
https://www.youtube.com/watch?v=jjpZ_0XiyvA
If using sand, we recommend adding at least 1 bulk bag of sand (quarried sharp sand is our preference) per pallet of slabs, more if you want it to be deep enough for rolling, lying down, and playing on. It’s money well spent. Sharp sand won’t wash away as quickly as fine/soft sand, as the particles are rougher and bigger/heavier.
NB: If fitting slabs inside an existing building or against existing fencing, please allow room for expansion when temperatures get very hot.
FINISHING
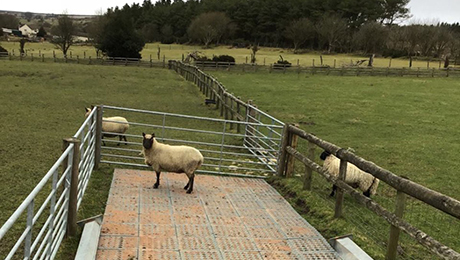
Once the slabs have been laid out, cover with sand or another water-permeable material. If you are using the slabs for livestock use, please use washed fine/soft sand or quarried sharp sand.
REMOVING AND RE-LAYING THE SLABS
Care should be taken when lifting the slabs for re-use, by far the best way to do this is by lifting the leading edge by about 15cm one row at-a-time. Pull the lifted row away from the connecting row horizontally.
Lifting the slabs by more than 15 degrees can cause undue stress on the locating tabs and cause them to break, which will not generally be covered by the manufacturer’s warranty.
